
Besides the manual creation of leads, leadtributor also has a lead import function. This is especially useful if you want to distribute leads through leadtributor from another source, such as a CRM or an ERP.
To use the lead import function, click on the plus icon in the left sidebar. This will take you to the lead entry screen. Here you can now import a .csv file via the import leads field: 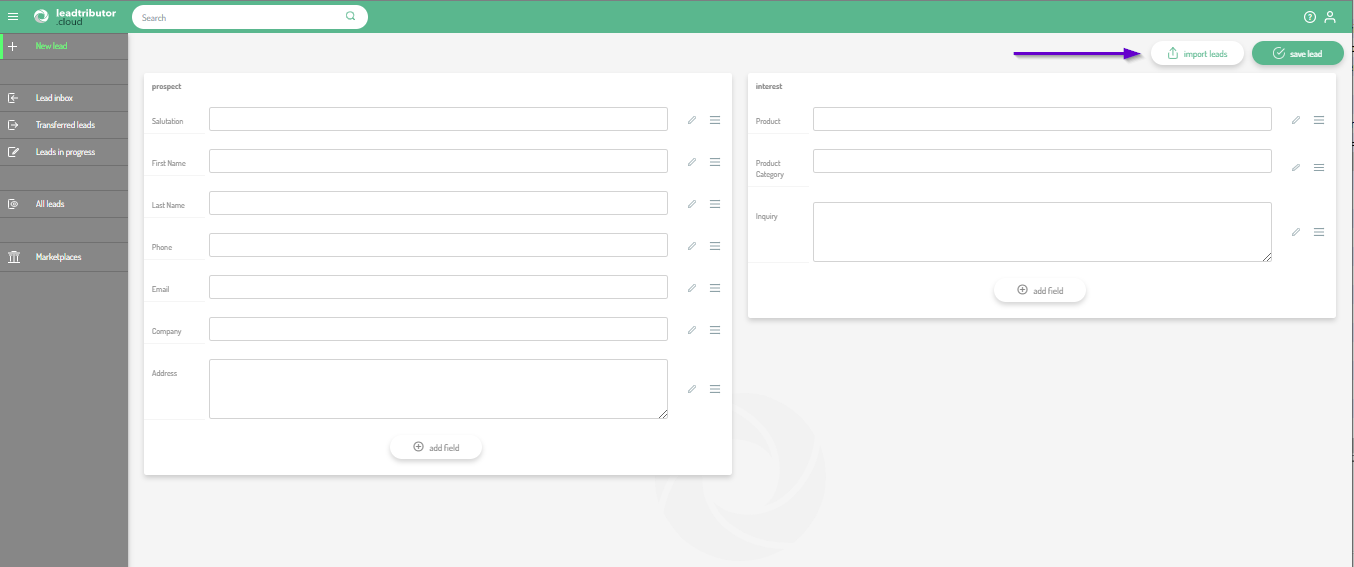
After clicking on the import leads field, you will now be guided step by step through the process, which consists of the following steps: Upload - Settings - Mapping - Import
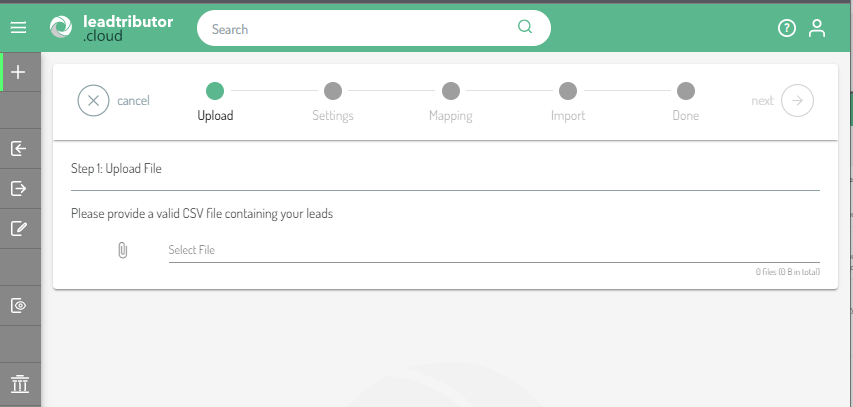
Step 1: Upload
In the first step, select the file you want to import and then click Next. 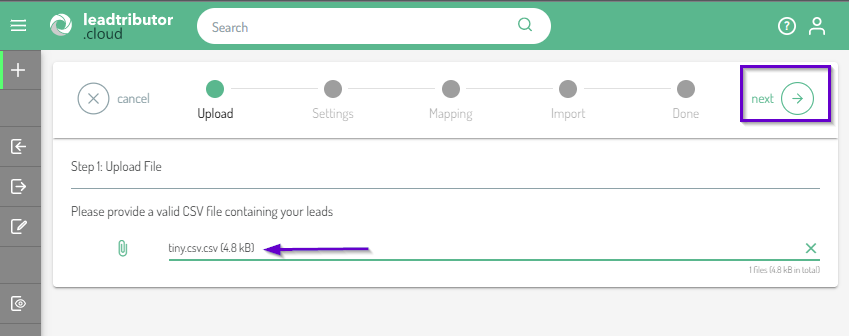 Important: The format must be .csv.
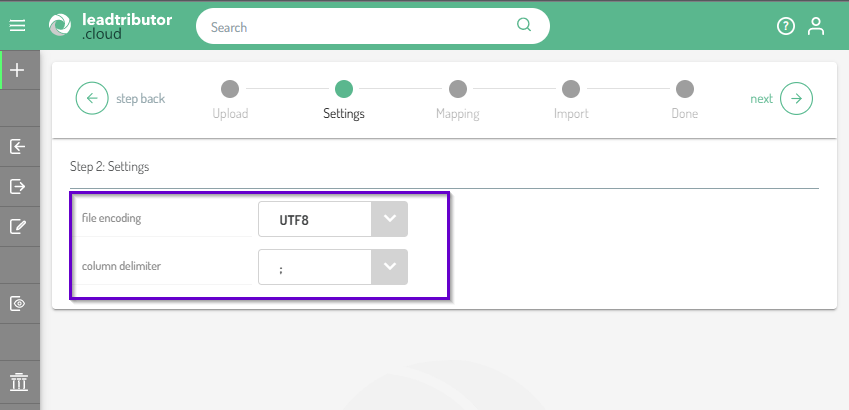
Step 2: Settings
Now enter which encoding it is and which column separators are used. The encoding can be either UTF8 or WIN252. The column delimiter can be either semicolon or comma. Confirm your input again by clicking Next:
Step 3: Mapping
The third step is now to capture the assignments.
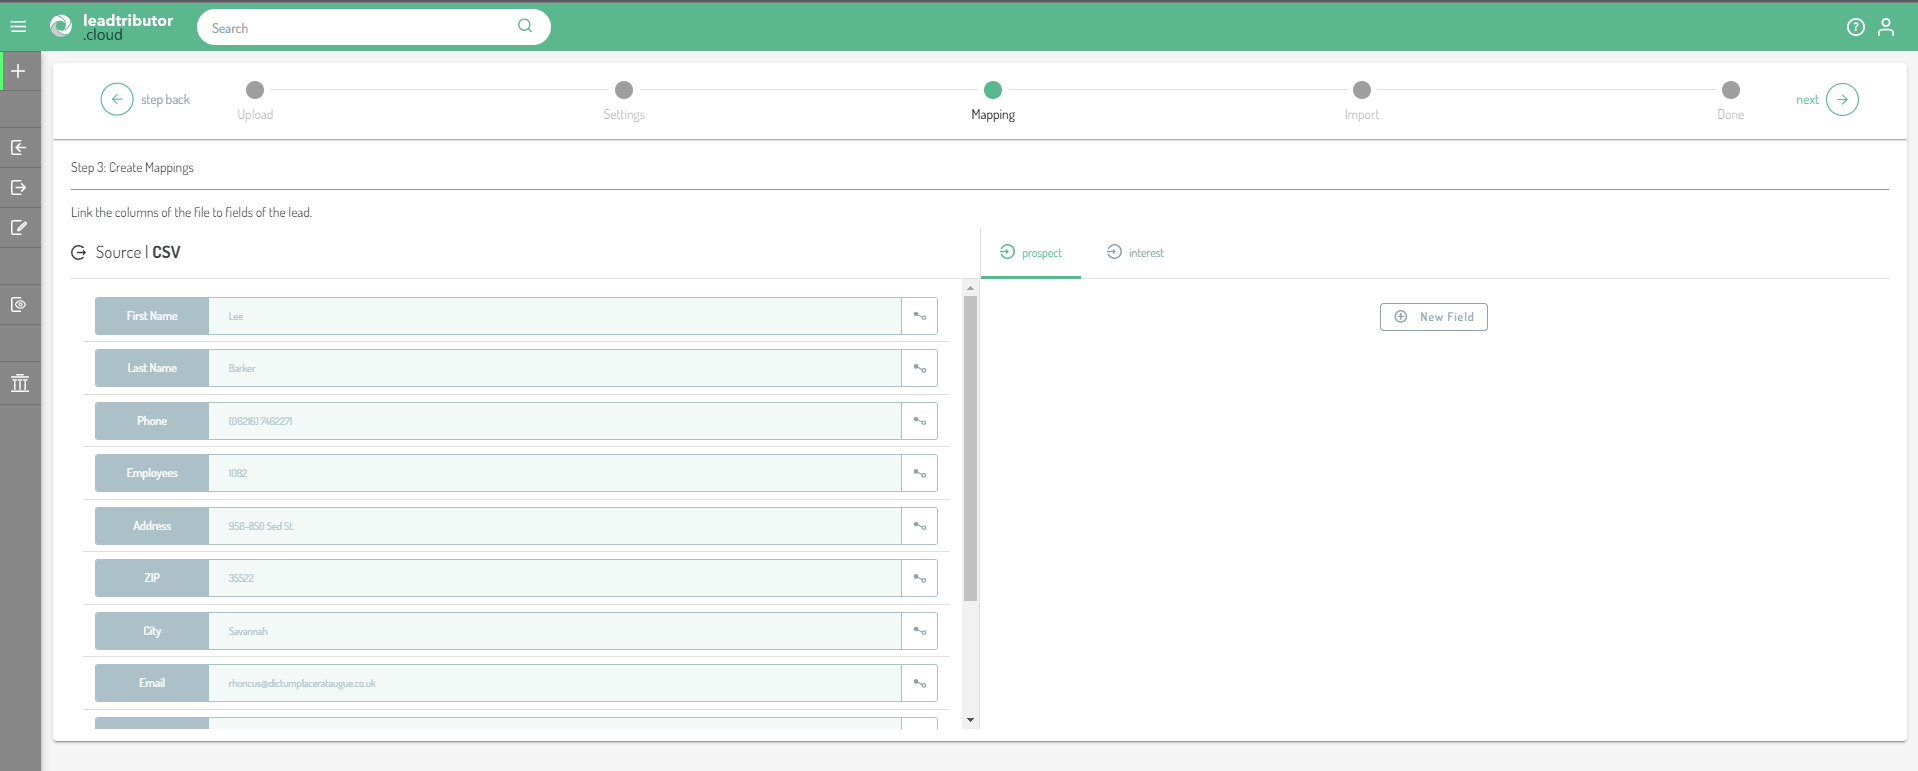
On the left side of the screen the fields of the source are displayed. In this case: first name, last name, phone, address etc. These come directly from the .csv file. So that you can already check here whether the entries were recognized correctly, the fields are already pre-filled with the first entry of your .csv.
On the right side of the screen you can see the fields that are displayed in leadtributor, divided into contact and interest. If the mapping has not been done yet, no fields will be displayed here, of course. Start the mapping: to do this, click on New Field. This will add a new field in leadtributor:
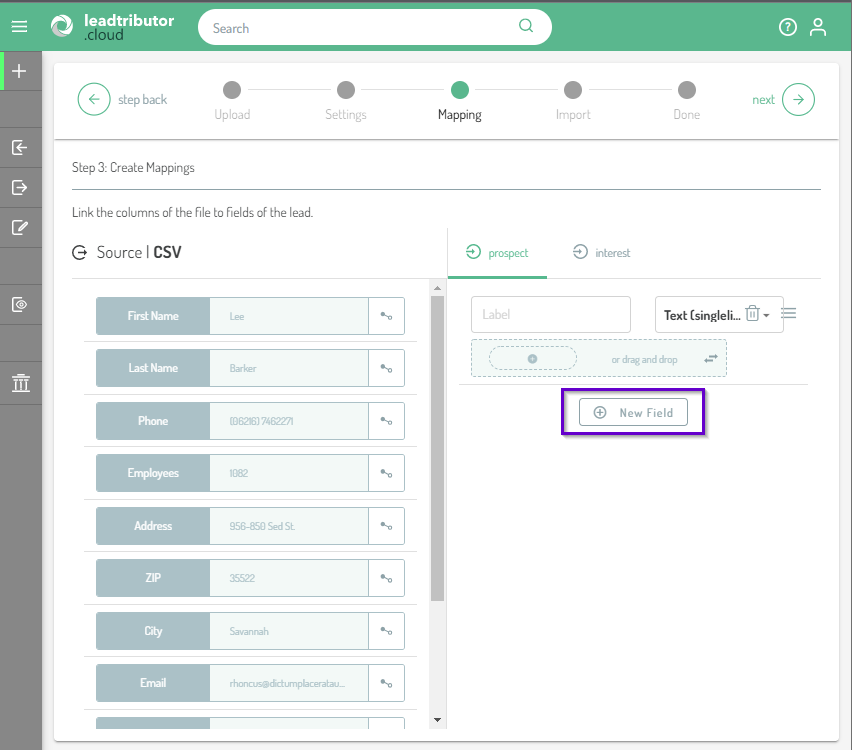
Now drag and drop the entry you want to add from your .csv file on the left side of the screen into the right area of the screen. As you can see, the Label field will then already be pre-filled with the corresponding name from the .csv (see 1 in the following screenshot). If you want to change the name, you can do so in this step by overwriting it. Now you have to map the entries from the .csv with the leadtributor field names (see 2 in following screenshot):
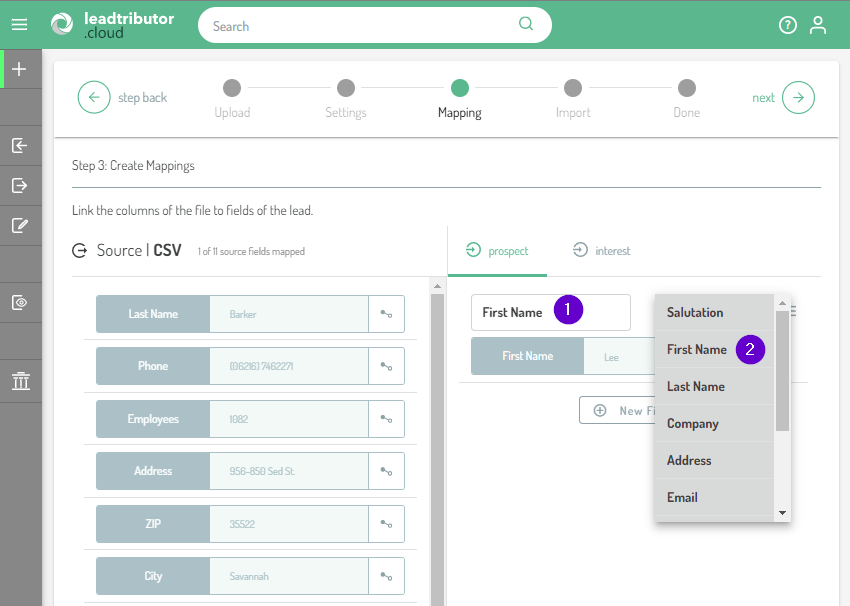
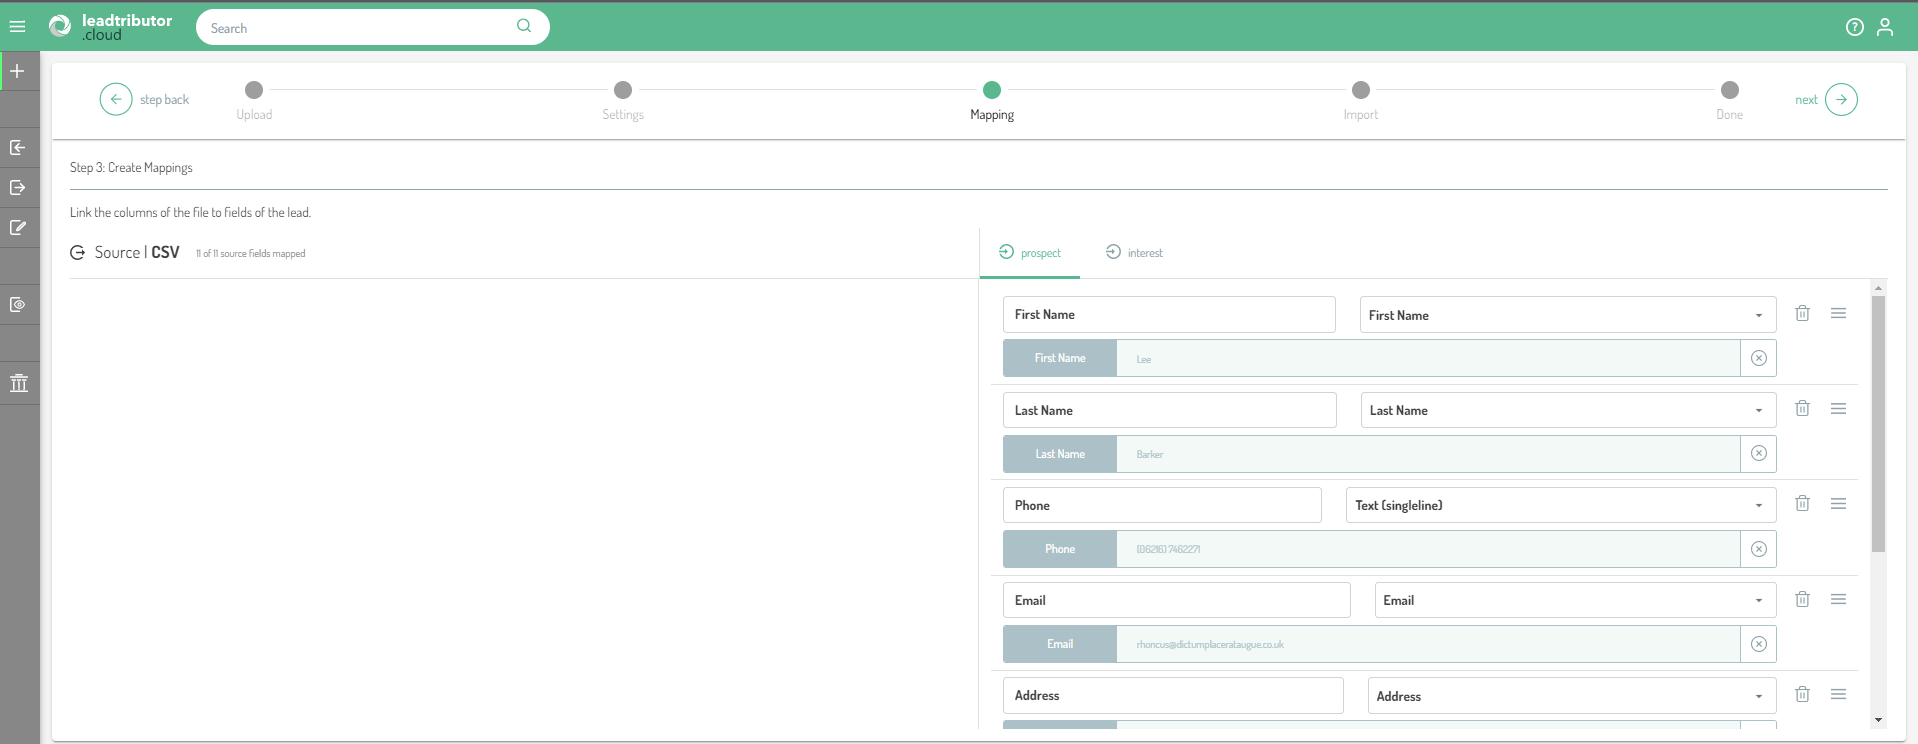
Default fields are: Salutation, First Name, Last Name, Company, Address, Email, Phone, Text (single line), Text (multi-line), Integer (positive). Once the mapping is done, the result should look something like this:
Tip:
- Sorting the entries: You can also sort the fields at this point according to your preferences. If you want to move an entry, click on the three lines next to the respective entry and drag the entry to the desired position. If you want to delete an entry because it is not useful for you or your lead users, click on the trash can next to the corresponding entry. Also make sure that you assign the fields to the correct contact and interest sections. Once you have mapped everything correctly, click Next.
- Adding an extra field: for example, if you want to include a source in your lead, you can add an extra field in which you enter the desired information. To do this, click Add Field and then click the small plus icon. Now you can enter the desired text there. Please do not forget to assign a label at this point as well, which will be displayed accordingly later. For example:

Step 4: Import
Once you have clicked Next under Step 3, you will be asked if you want to start the import:
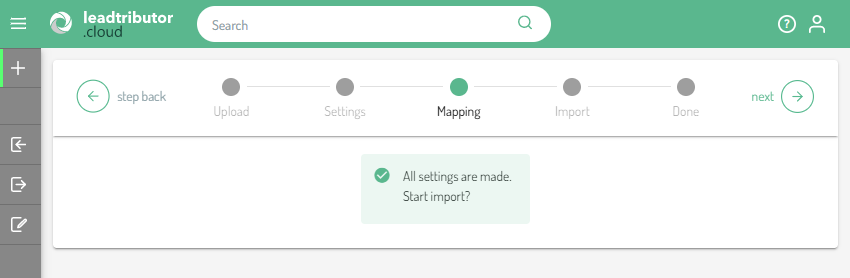
Confirm this with a click on Next. The import will then start automatically. As soon as the import is complete, the process jumps to the status Done and you receive a status message. If it was successful, the following message appears:
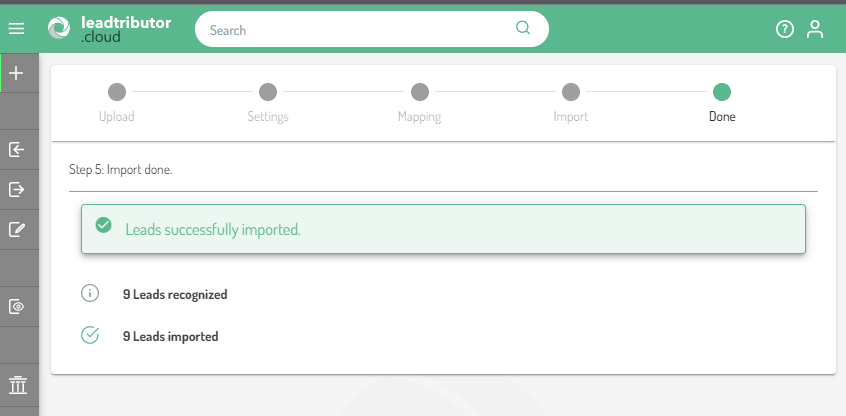
The leads now appear in your lead inbox and are ready for further processing.
Comments
0 comments
Please sign in to leave a comment.