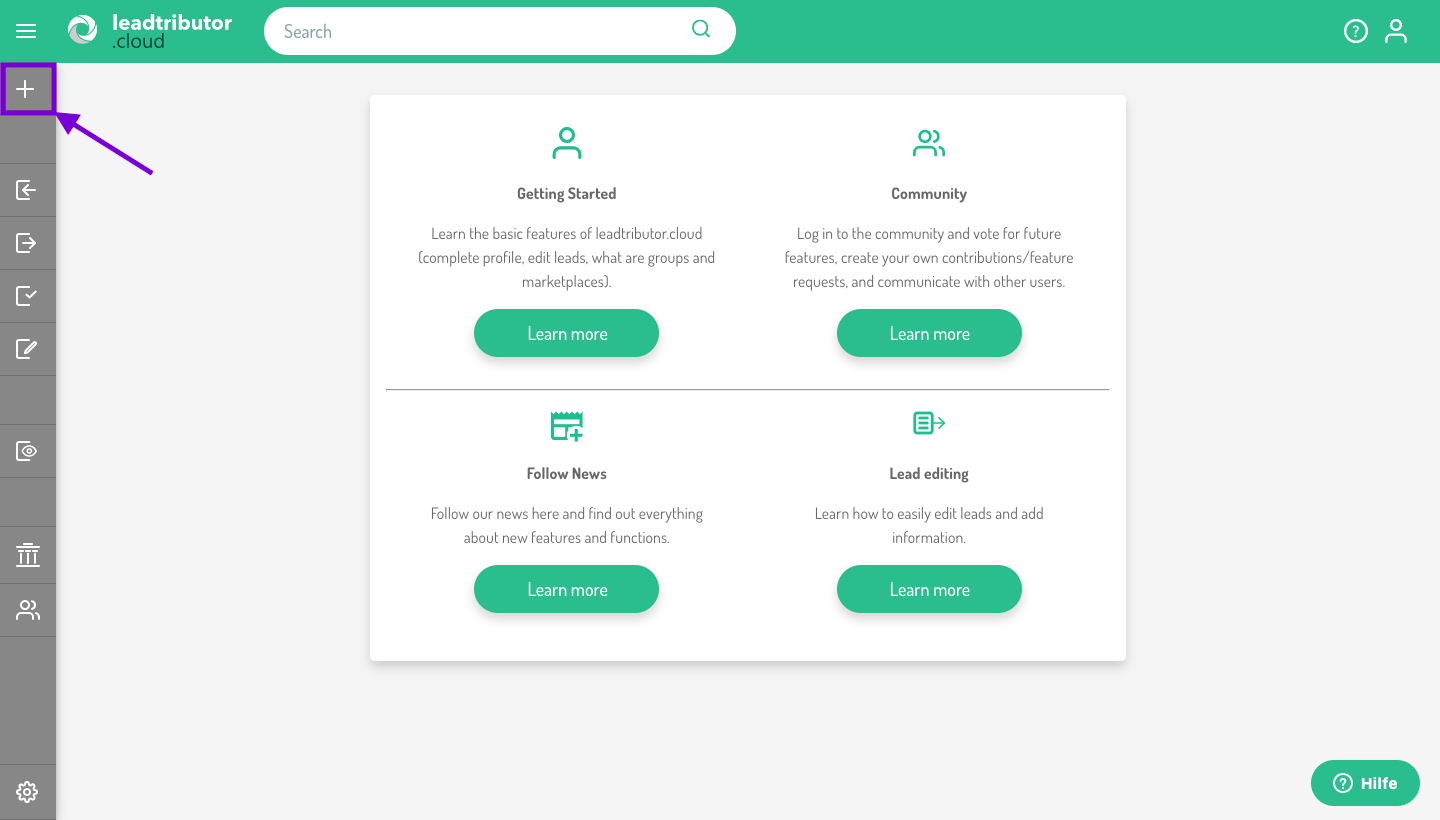
1. Click on the plus in the navigation on the left
2. Enter the lead details
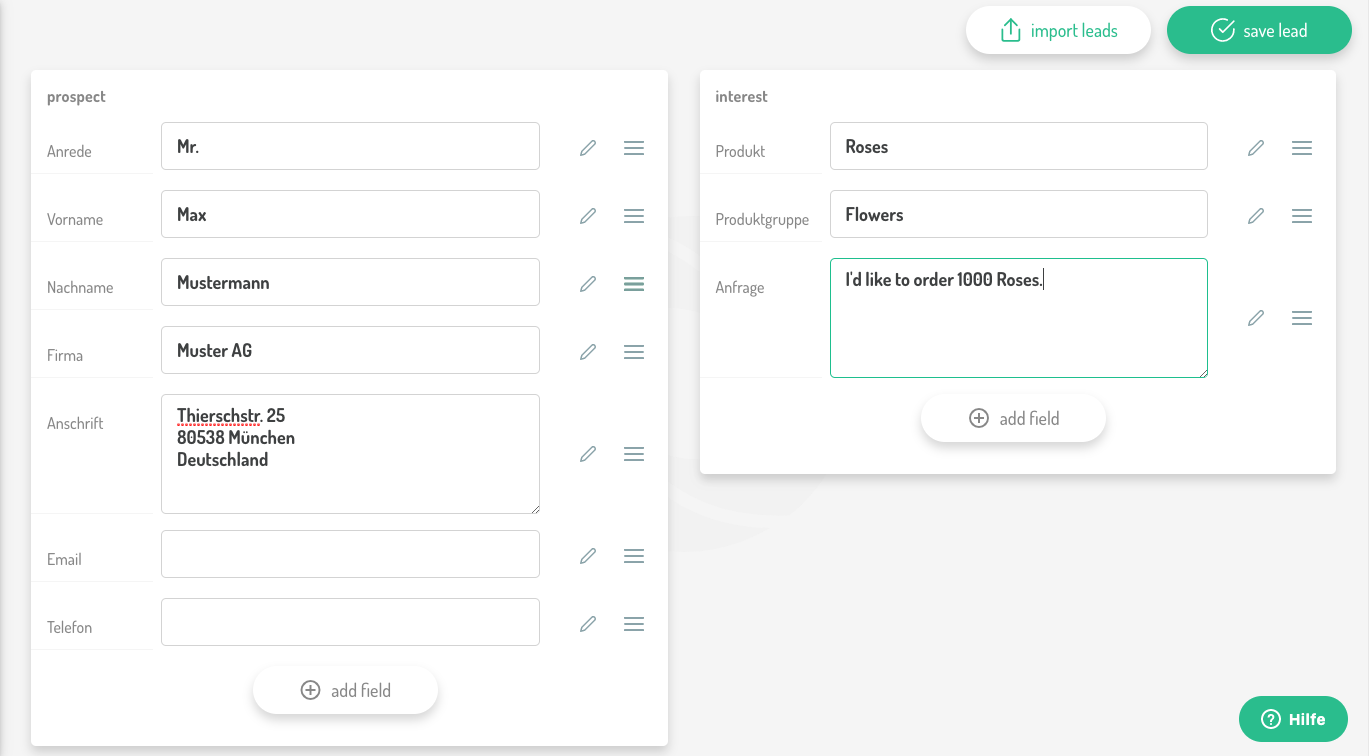
Some fields are available by default.
3. Click on save lead
Once you have entered all the information you need, you can save the lead by clicking the button save lead on the top right.

More fields can be added individually. Read up on how to do that in the next section "Further editing options".
Further editing options
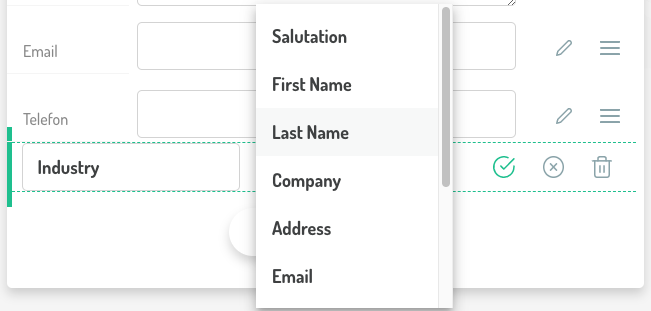
Change the order of the fields
You can change the order of the fields at any time by clicking on the three lines next to the field and drag & drop it in the desired position.

Add more fields
To add more fields, click on add fields:
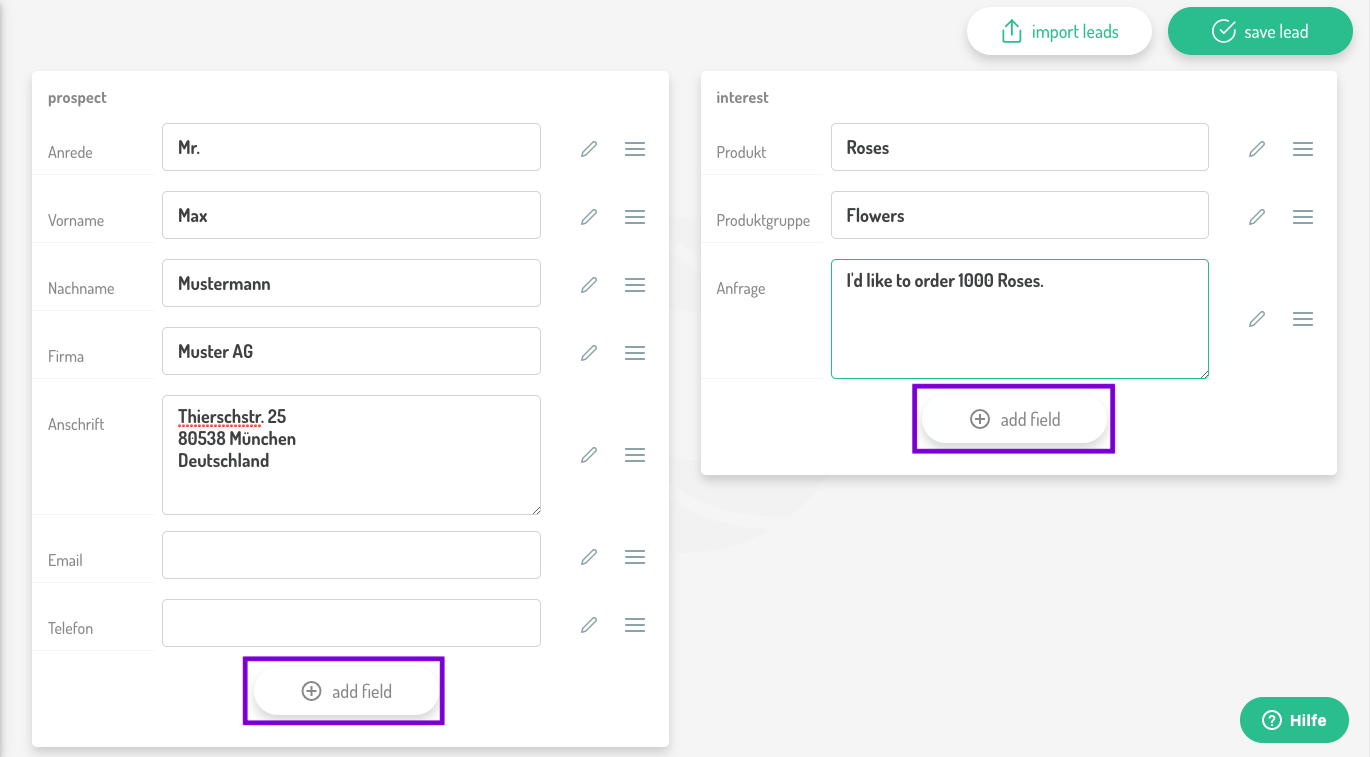
Fields may be added in either section, prospect or interest, depending on where it fits best.
Note: New fields are only visible for the individual lead they have been added to.
Enter the name and type of the field
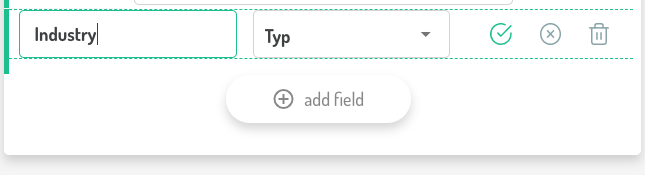
The type determines the kind of data that will be entered into the specific field (Address, E-Mail address, telephone number, etc.)
Once you have created your field, click on the green tick to save the field.
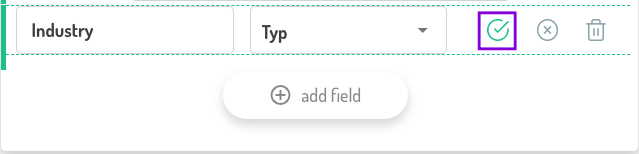
Note: if you click on the "x", your changes will be discarded.
Comments
0 comments
Please sign in to leave a comment.